

Are you watching this instruction on your phone?
Please make sure your rotate function is active and watch it in the 'landscape' orientation.
When ready, please start the presentation!
Setup your Outlet for
KUARIO Kiosk
You should now be able to create an Outlet for your Kiosk (MFP) device!
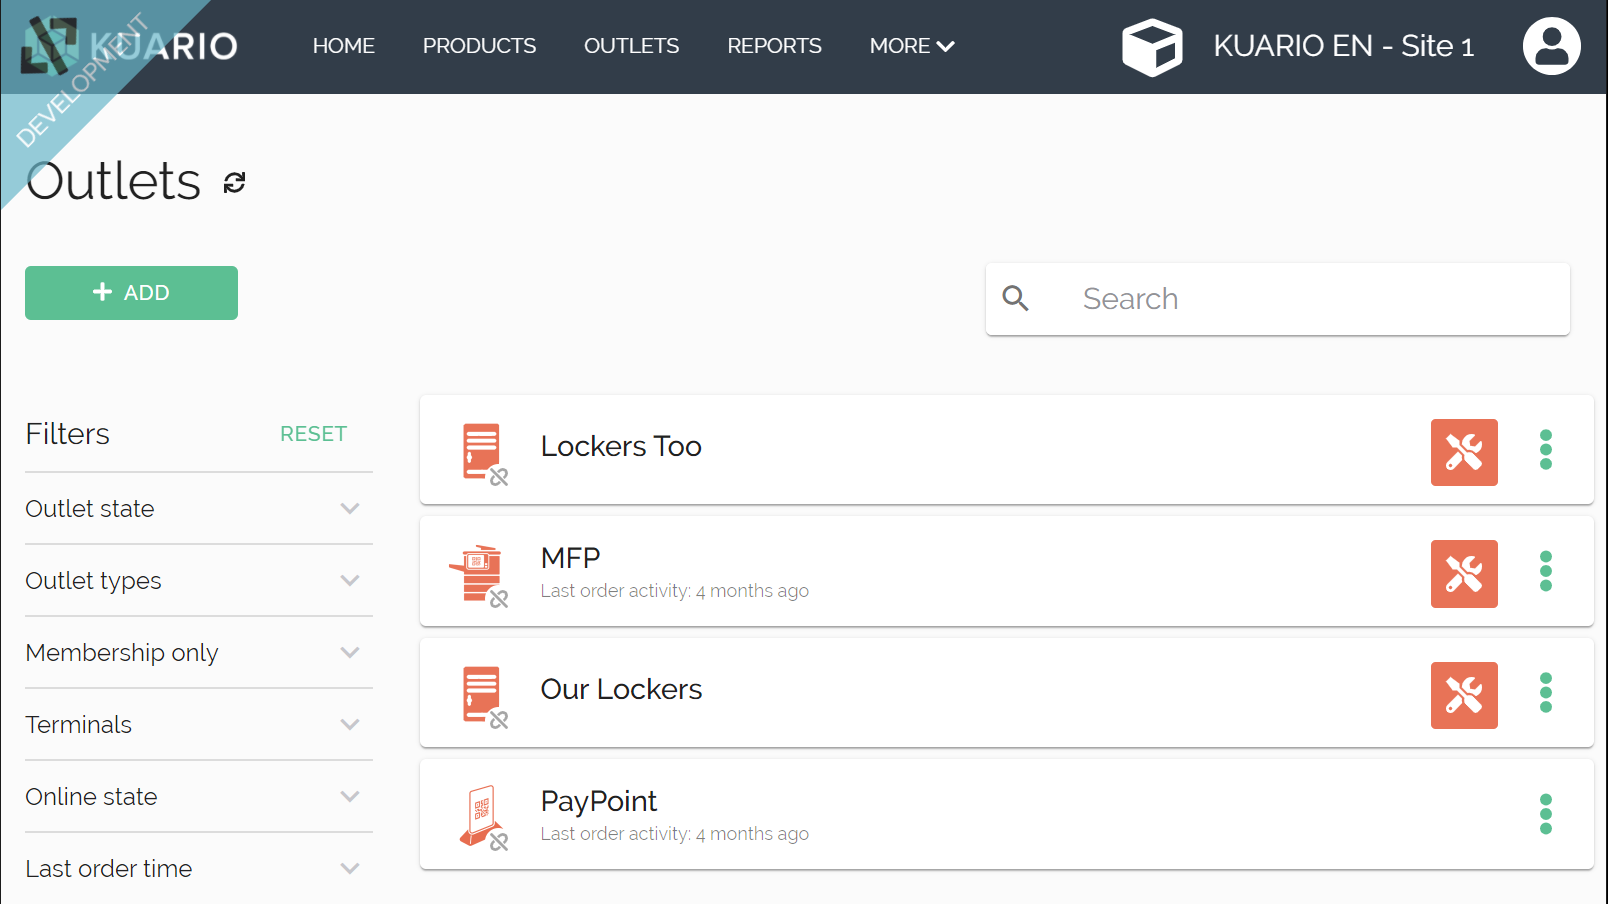

Create a new Outlet on your site by clicking the 'Add' button.
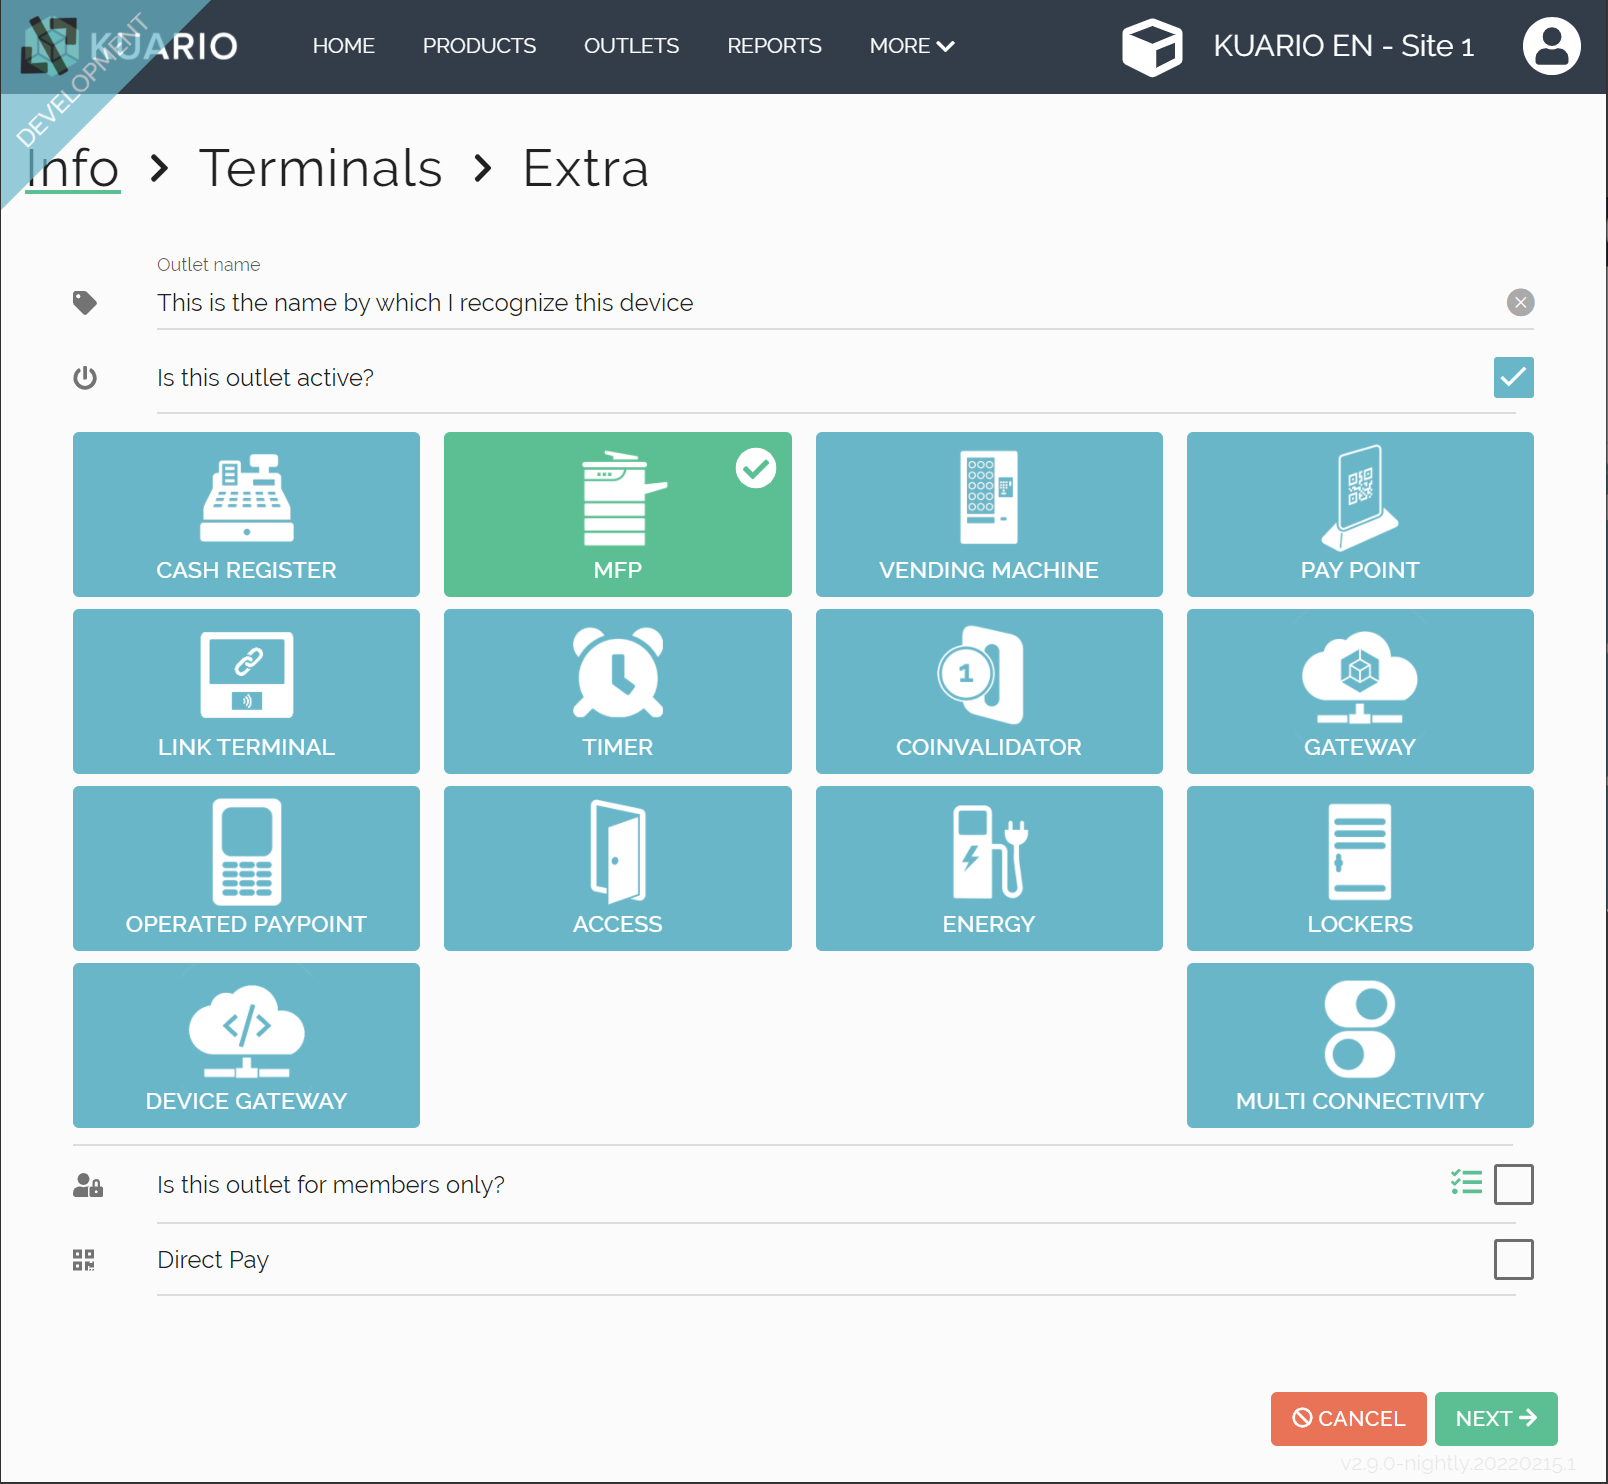

Give the Outlet a name that will identify this device to you.
Make sure the Outlet type is a MFP.
Click 'Next'.
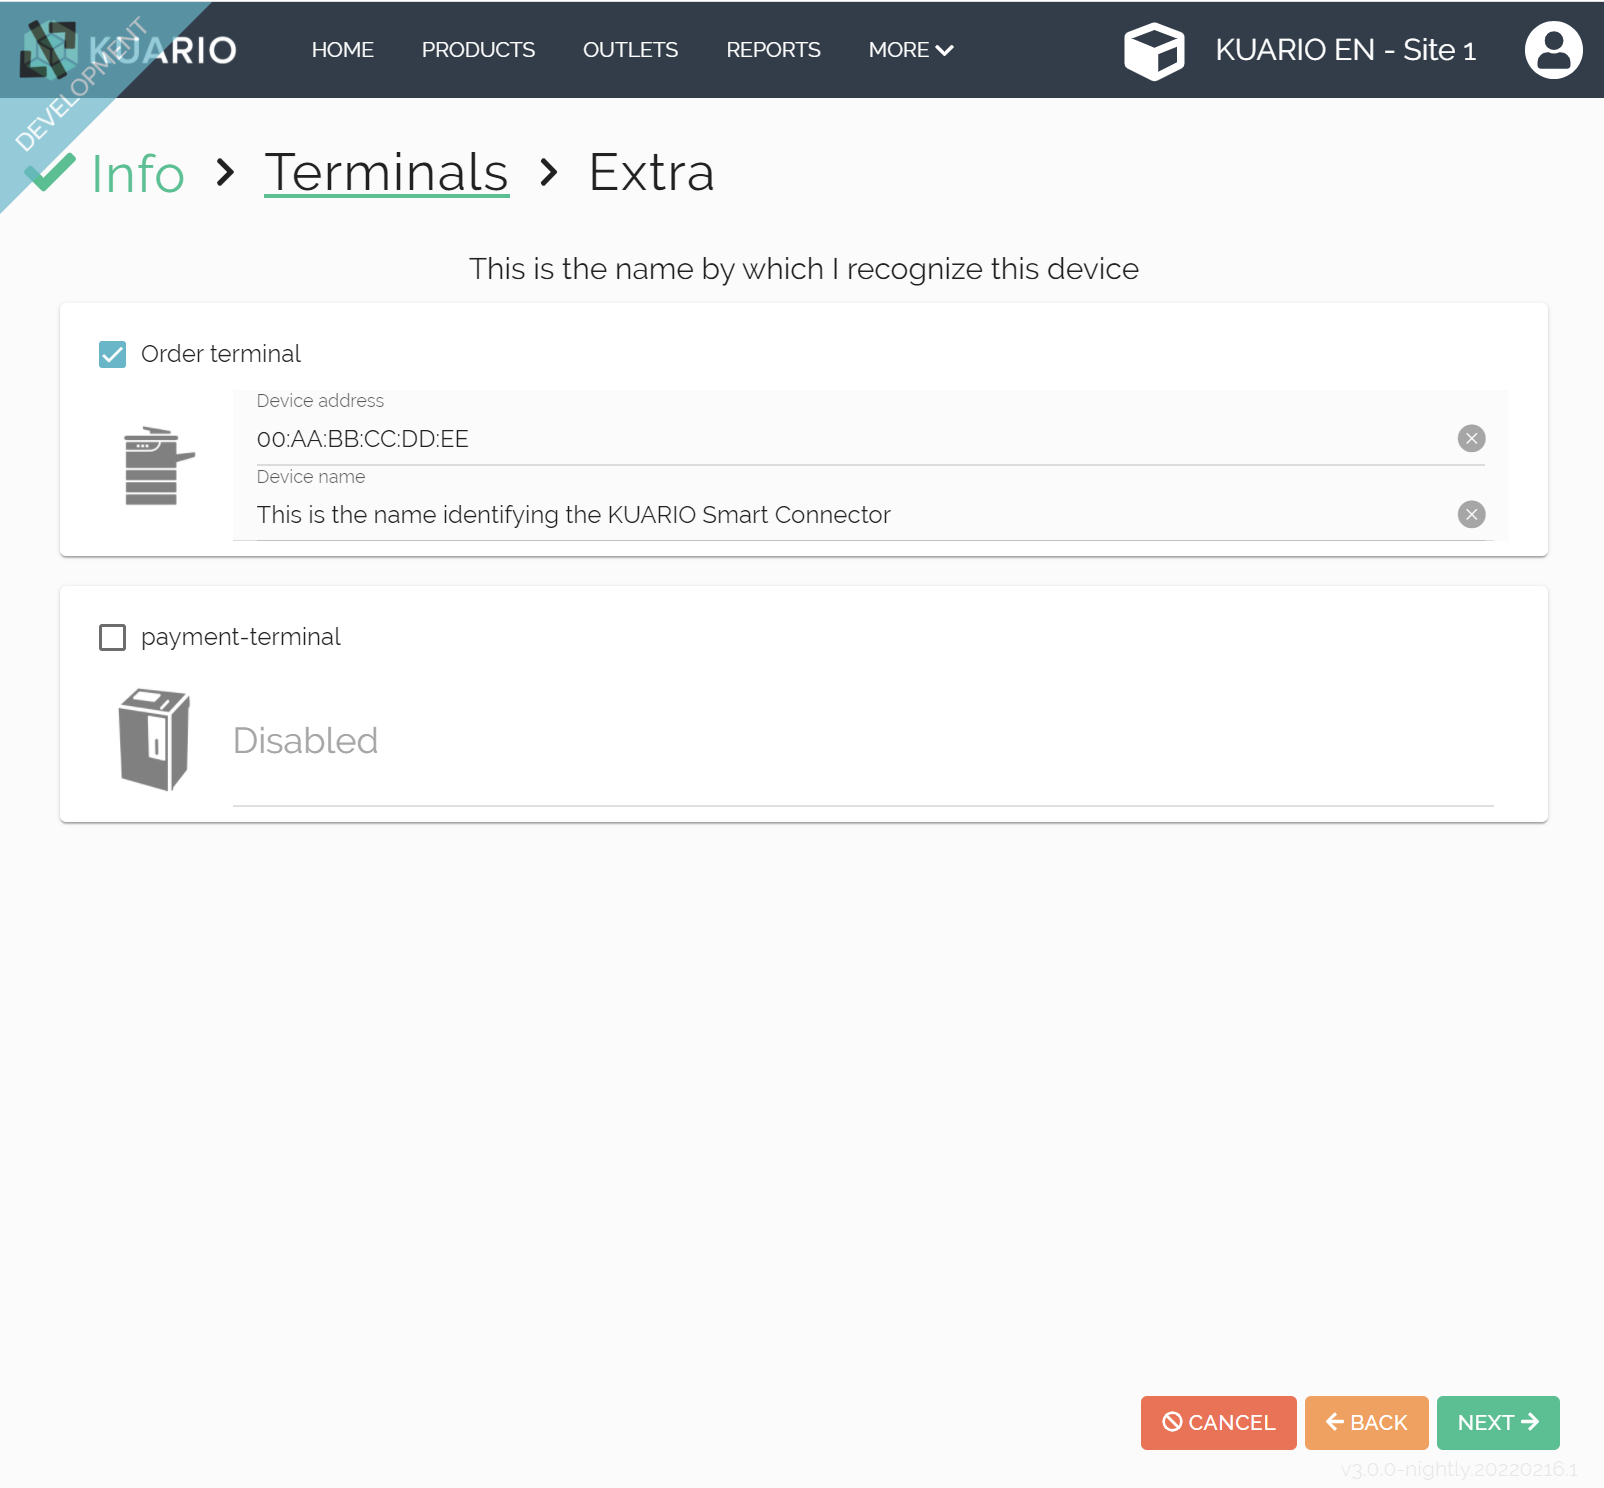

The MAC- or device- address of the KUARIO Smart Connector.
As with a Web Kiosk Outlet the order terminal must be the KUARIO Smart connector and not the device itself, the device name should be the name of the KUARIO Smart Connector that belongs to the MFP device.
Click 'Next'.
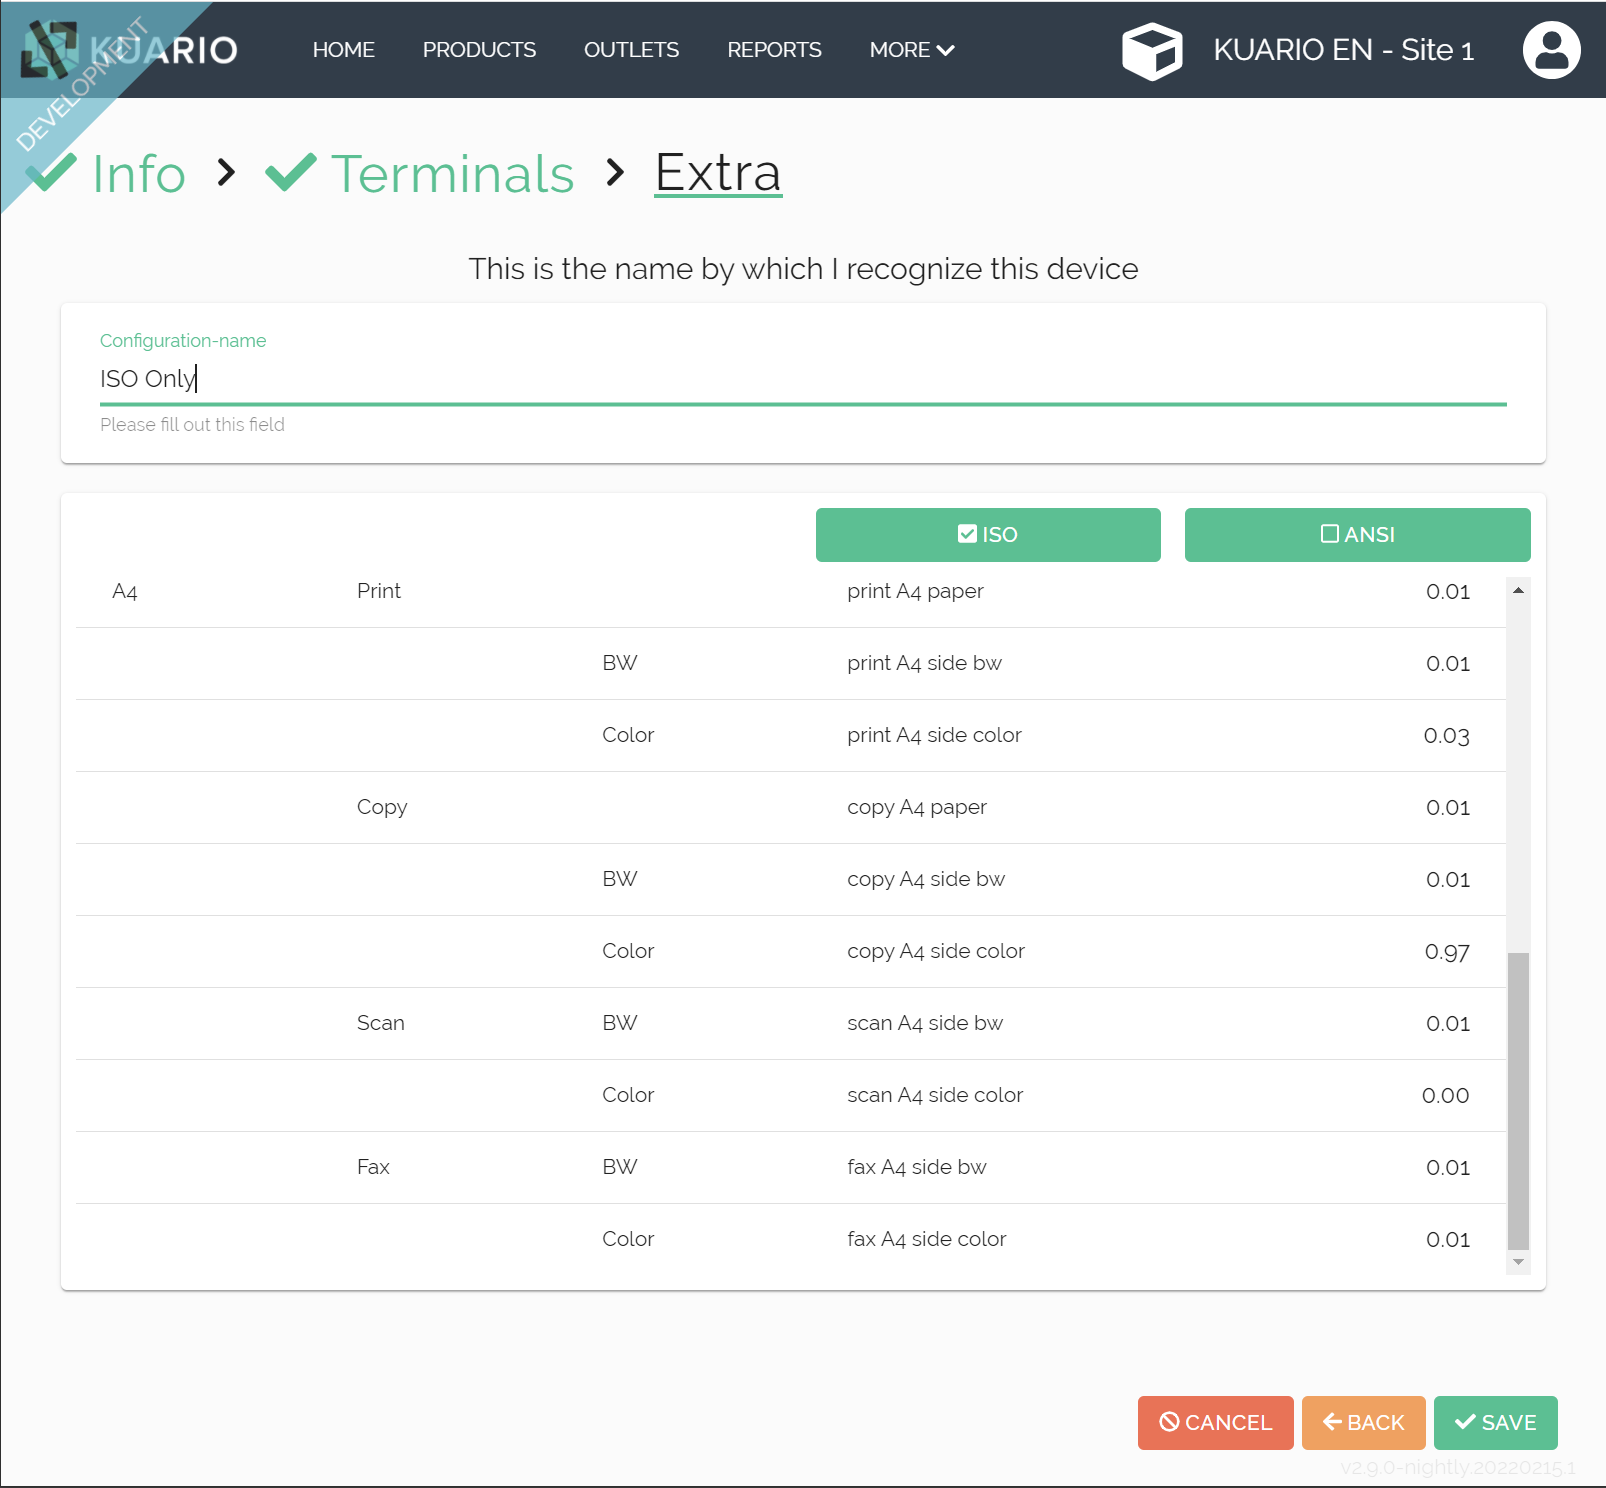

Here you name the group of products that you can get at this MFP.
There are some pre-defined groups, like ISO and ANSI. ISO is the set of paper sizes that include 'A4', and ANSI is the one with 'Letter'.
In this example I have selected just the ISO group.
Click 'Next'.
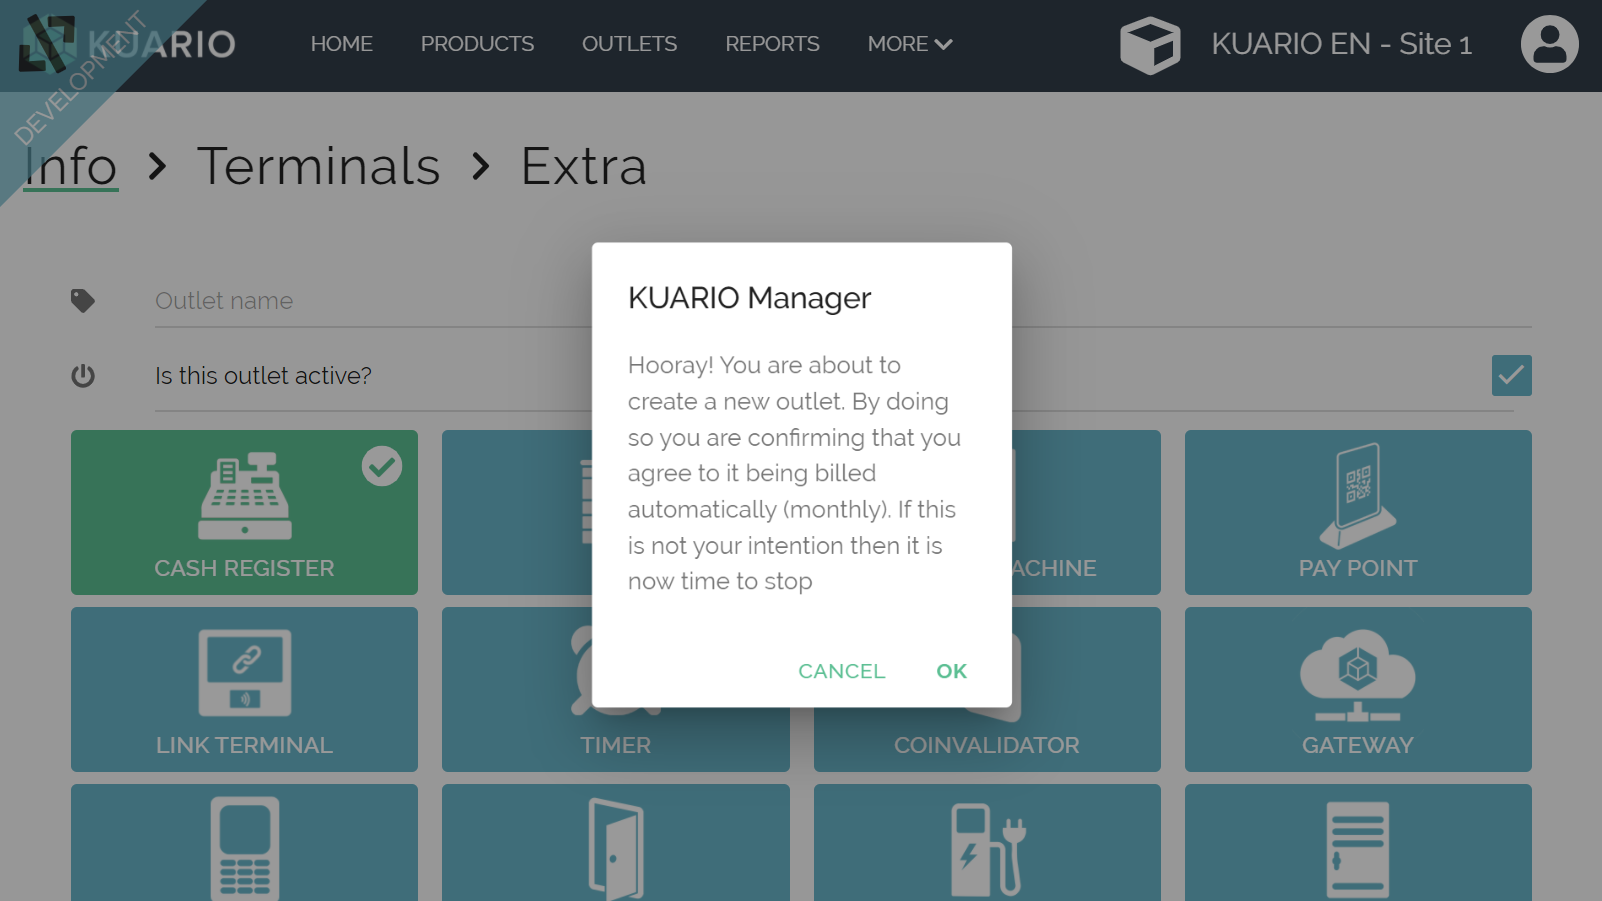

When you create your first Outlet, you will get this message. Confirm by clicking OK.
Your Outlet should now be in the list of Outlets on your site.
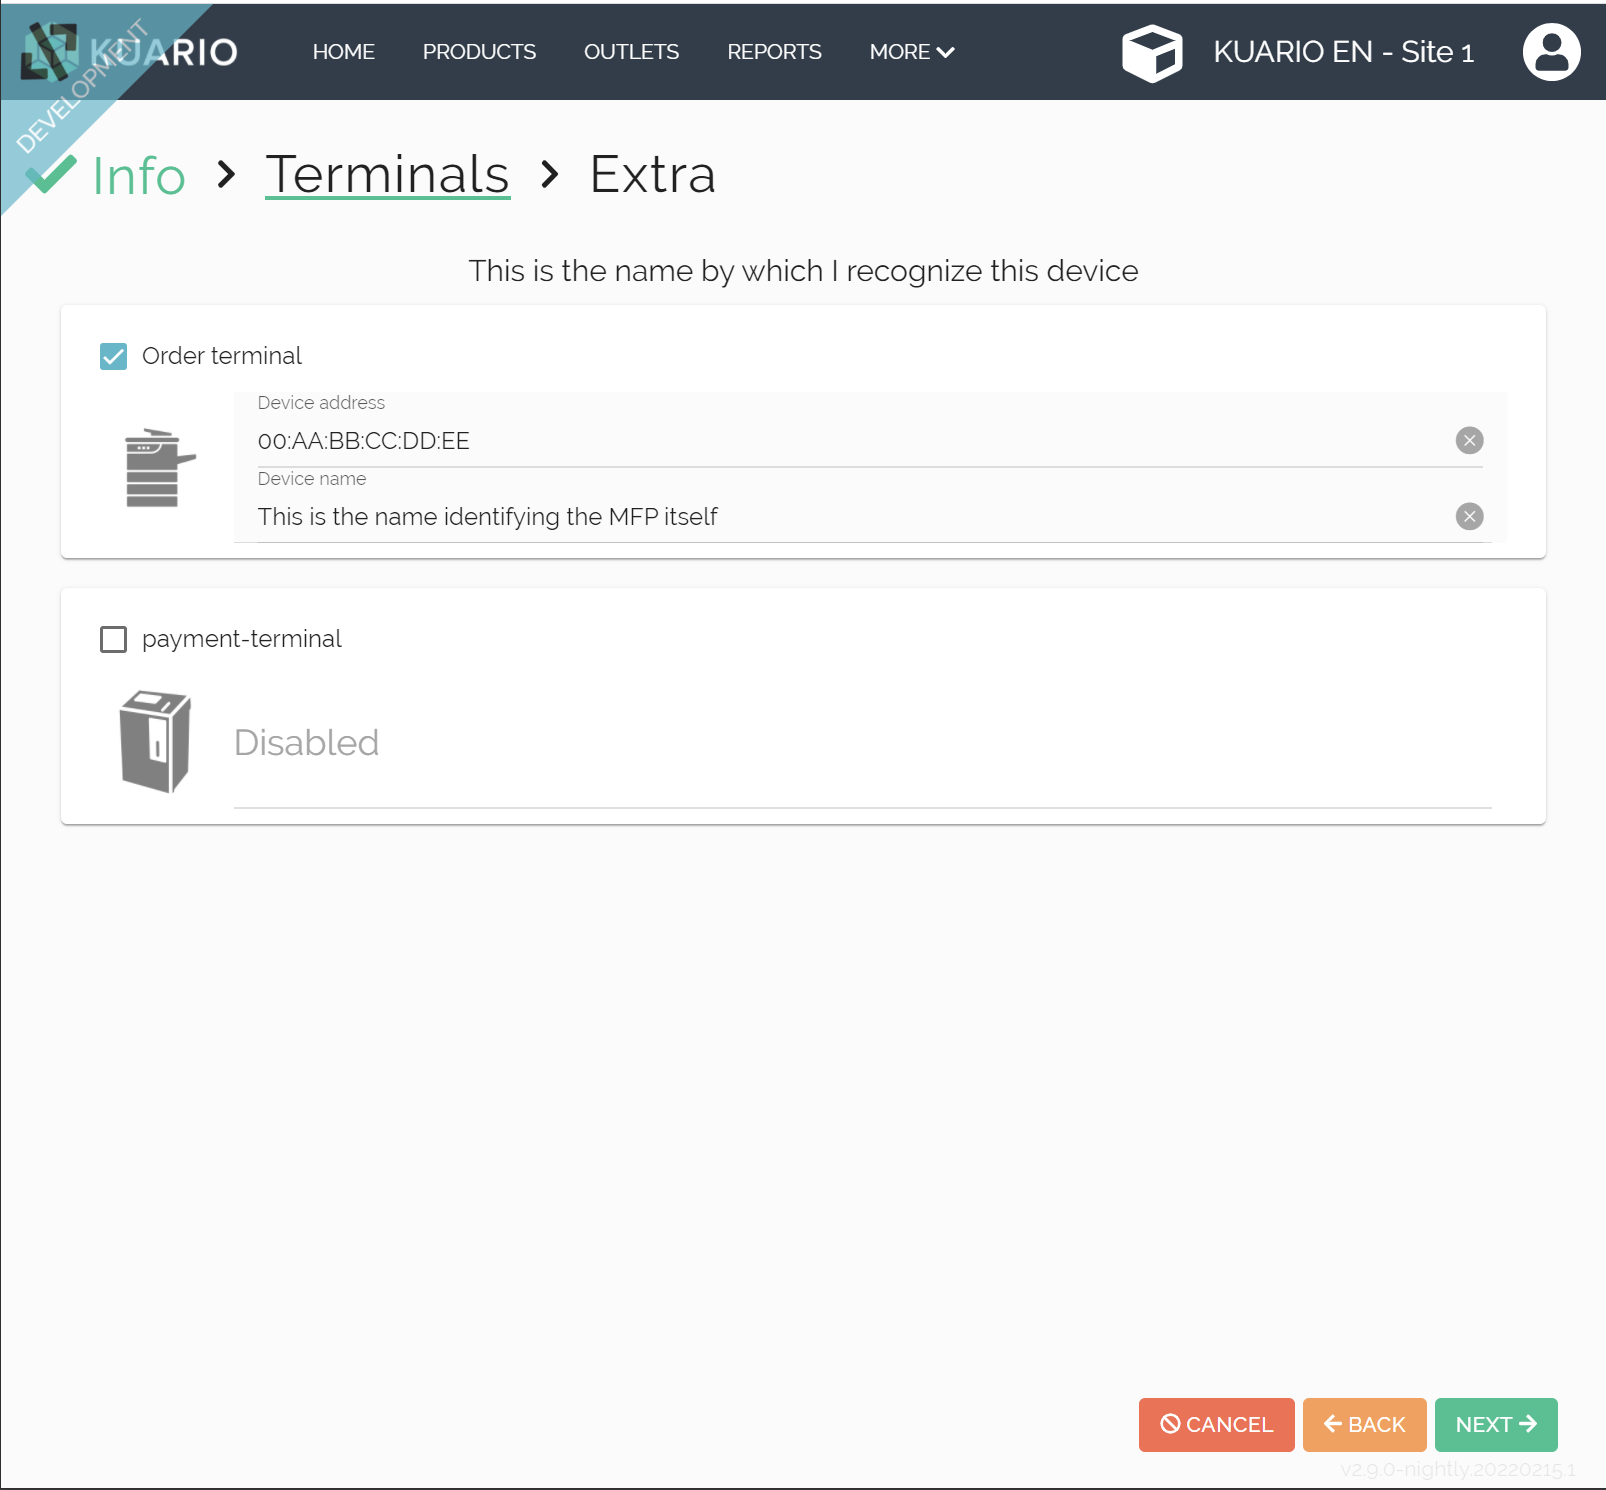

The MAC- or device- address of the MFP device.
As with a Android Kiosk Outlet the order terminal must be the MFP device, the device name should be the name of the MFP device.
Click 'Next'.
Kiosk Type
There are two types of KUARIO Kiosk. Android Kiosk is used by Ricoh and HP devices, it runs on the device itself. The other, Web Kiosk is used by Epson, Konica and Xerox and runs partially on the device and partially on the KUARIO Smart Connector.
Please select the Kiosk Type to follow the correct tutorial path.
Android Kiosk
(Ricoh and HP)
Web Kiosk
(Epson, Konica, Xerox)
